Windows as QEMU guest
Some UI details and referenced bugs (e.g., UEFI snapshots) have since evolved.
Windows can run fine under QEMU and KVM, but since installing it with QEMU or libvirt directly is not very straightforward, most people prefer using other hypervisors which have a fancy GUI.
KVM is known to have the best performance on a Linux host, requires no external drivers, and with virt-manager it’s not more difficult to set up than other solutions.
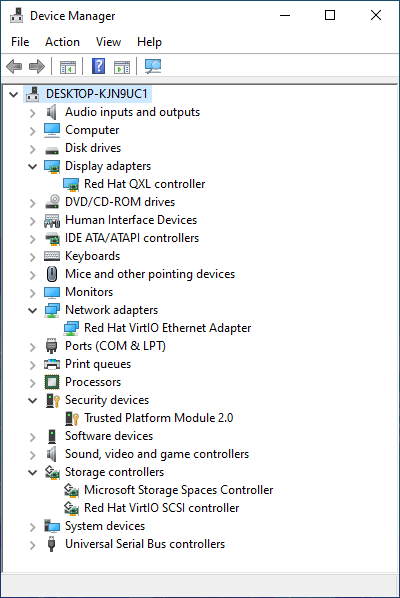
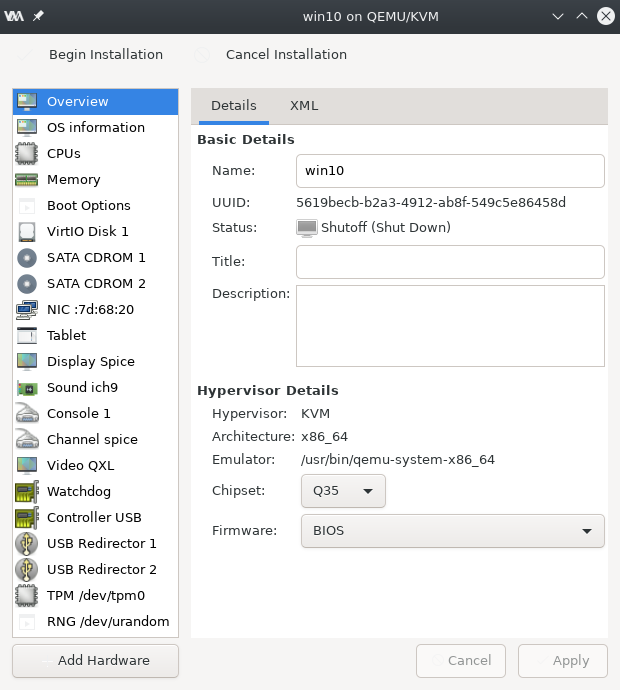
A proper Windows installation, with VirtIO drivers and guest tools, will run stably and perform almost as well as on a physical machine. This is how the system appears:
Get the software
Assuming that your Linux distribution has qemu, libvirt, and virt-manager already installed, to proceed, download the following:
- VirtIO drivers: get the “Stable virtio-win iso” from https://docs.fedoraproject.org/en-US/quick-docs/creating-windows-virtual-machines-using-virtio-drivers/#virtio-win-direct-downloads
- Official Windows ISO install, get the latest from https://www.microsoft.com/en-us/software-download/windows10ISO
Put both ISOs in a libvirt pool directory, like /var/lib/libvirt/images/
Prepare the VM
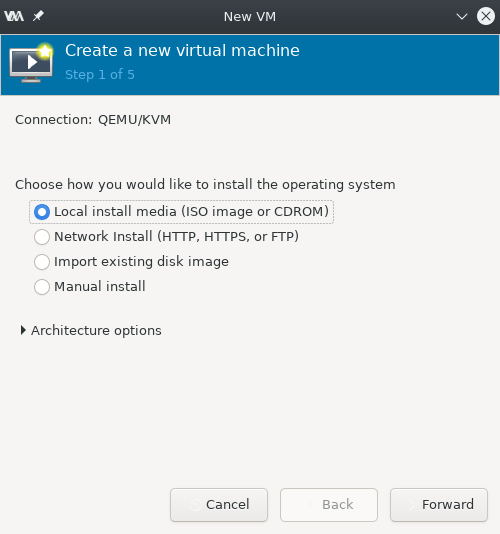
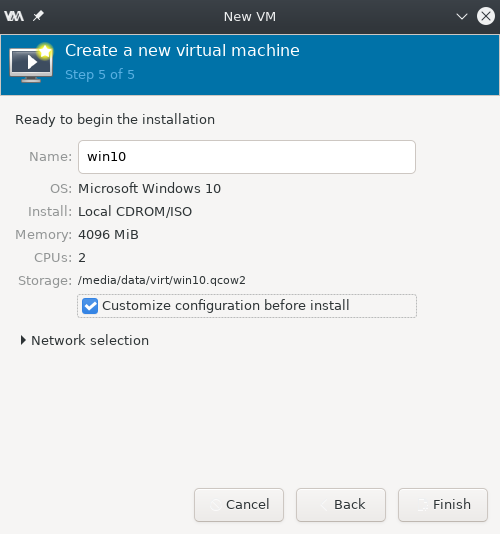
Create a new VM via the virt-manager wizard. Select the Windows ISO as install media and select the “Customize configuration before install” option. Be generous with the disk size; we’ll see how to avoid wasting space later.

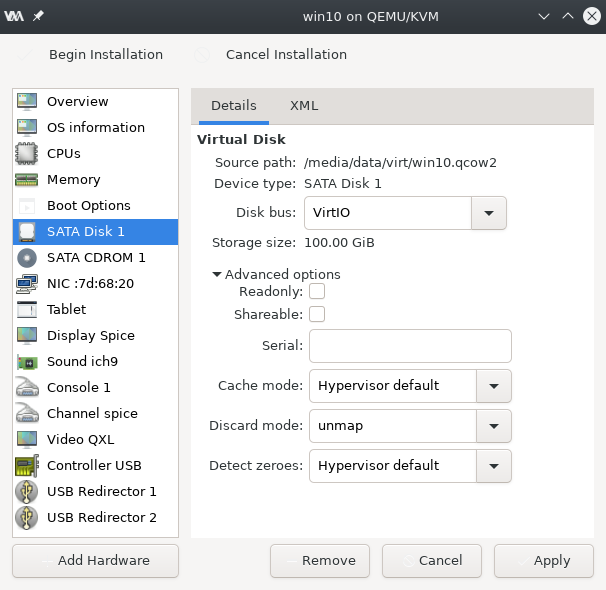
At this point, we’ll change the VM definition to use the VirtIO drivers.
First, go to the disk drive, and set the bus to VirtIO. In the advanced options, set “discard mode” to unmap, to make use of the virtualized TRIM command and discard the free space in the guest filesystem from the host.
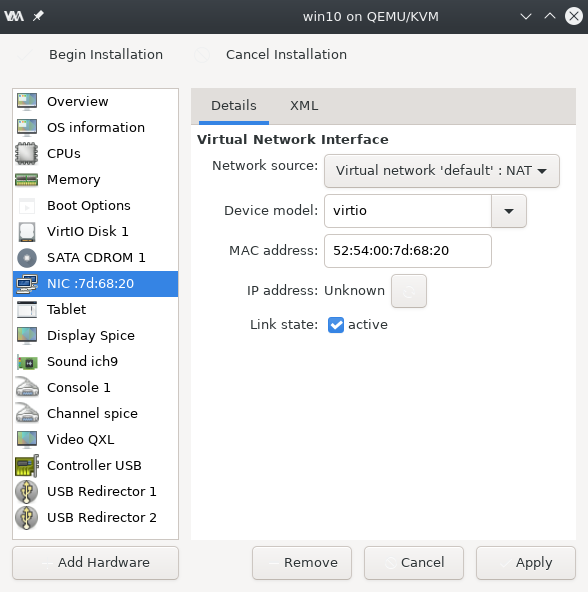
Set the NIC type to VirtIO as well — it has much better performance than emulating a physical card:
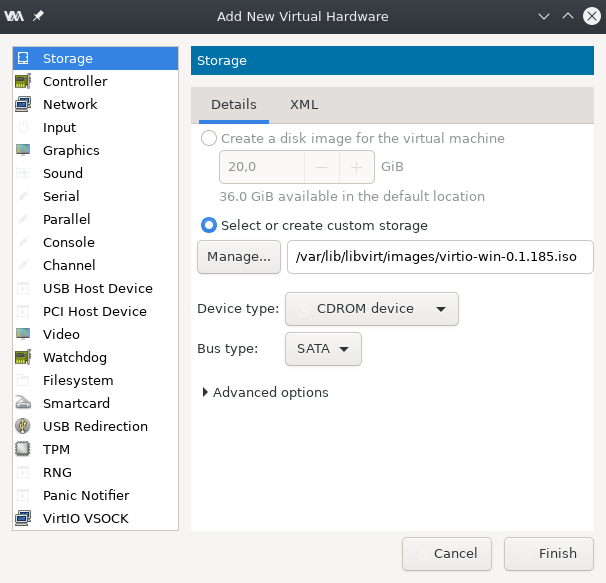
To be able to install the VirtIO drivers during setup, add a secondary optical drive, with the virtio driver ISO we downloaded.
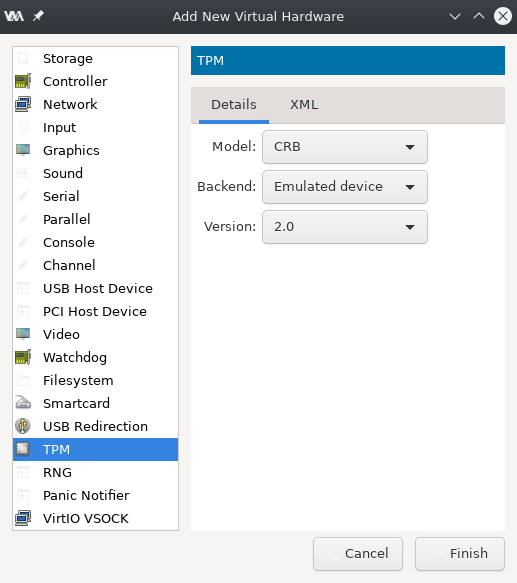
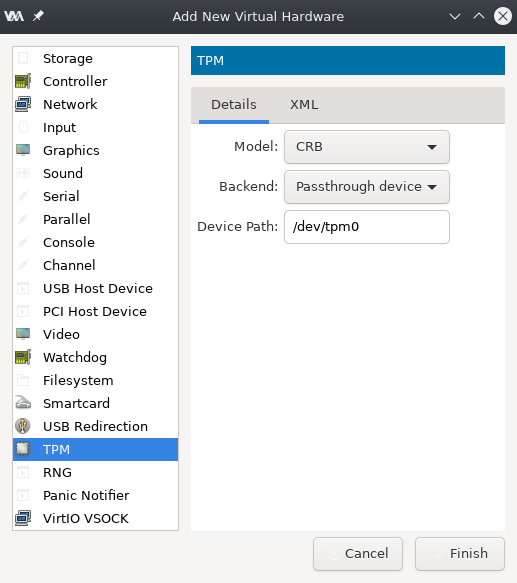
In Windows, we may want to use Windows Hello for login using a PIN. This requires a TPM chip, but QEMU can present one to the guest: either a software-emulated one via swtpm, or the host’s /dev/tpm0 in passthrough:
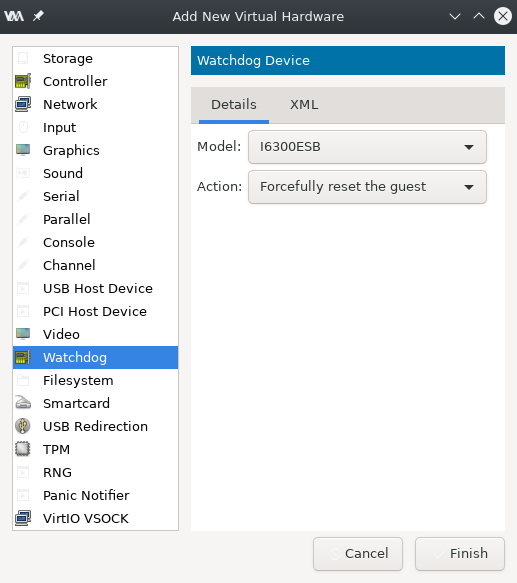
Not strictly necessary, but nice to have, QEMU can emulate a hardware watchdog to reboot the guest when it hangs.
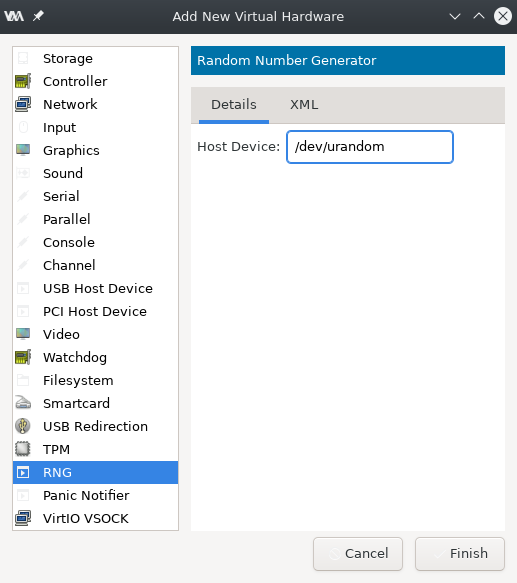
And a hardware RNG, to get entropy from the host.
At this point, we’re ready to start the install by clicking on “Begin Installation”. Be sure to select BIOS as the firmware, because UEFI snapshots are not implemented yet.
Windows installation
At this point the VM starts with the Windows installation running from the optical drive, until it stops because no disk drives are detected.
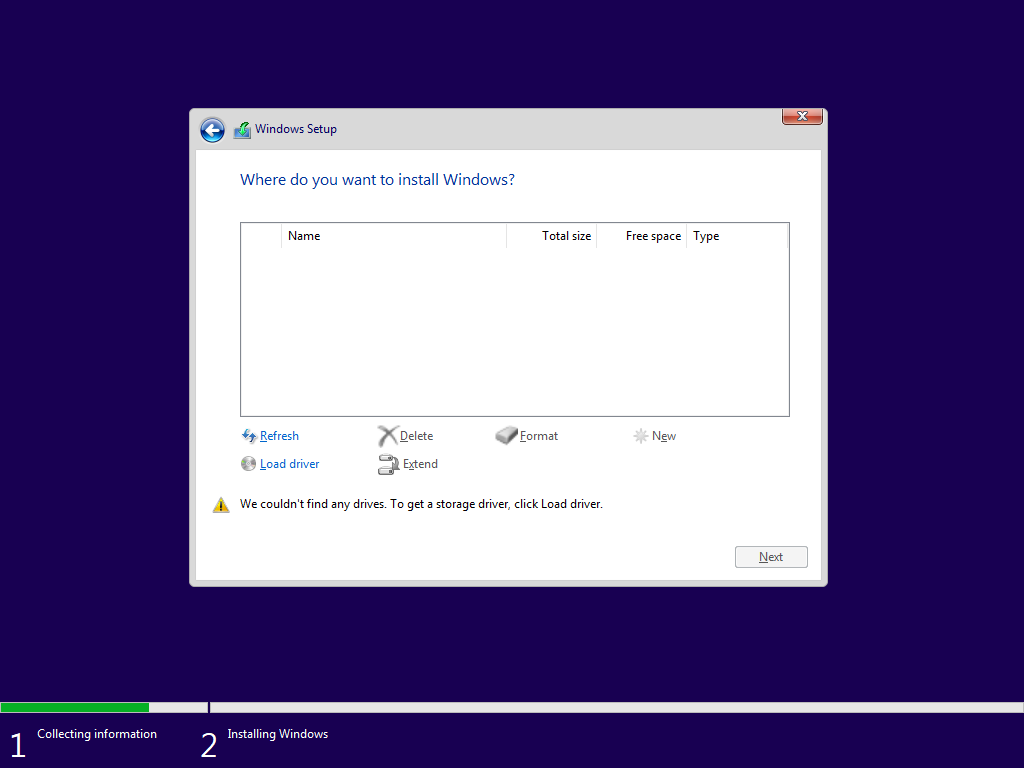
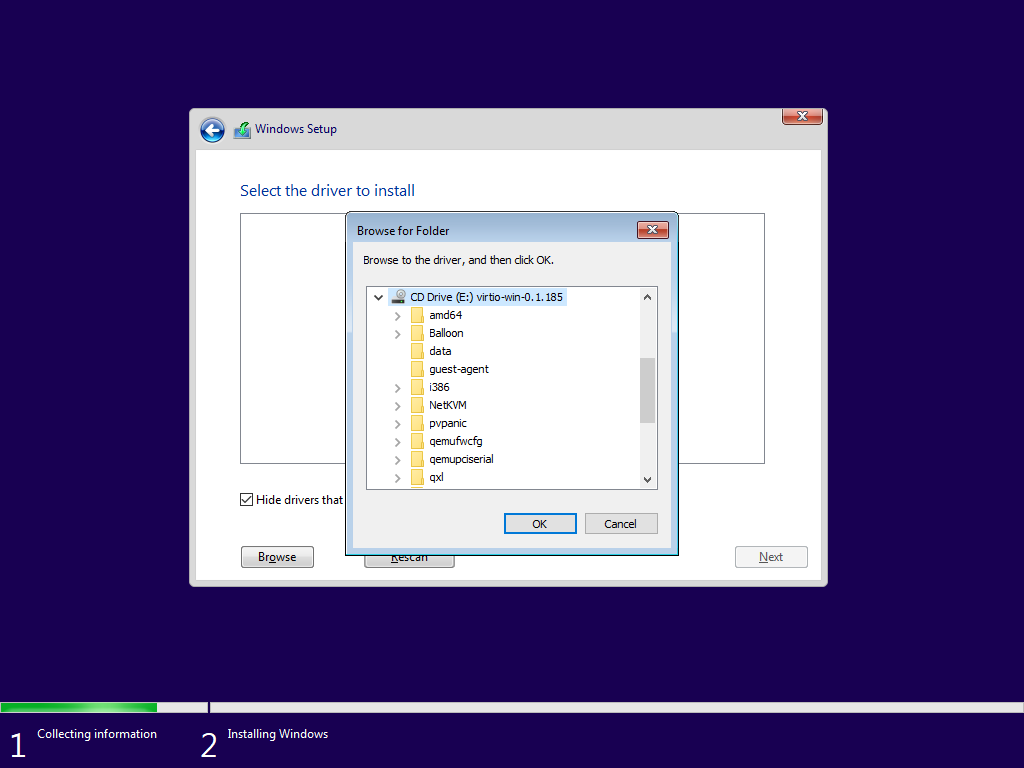
Press the “load driver” button, and browse E:\viostor\w10\amd64 to find the storage drivers for the virtio disk.

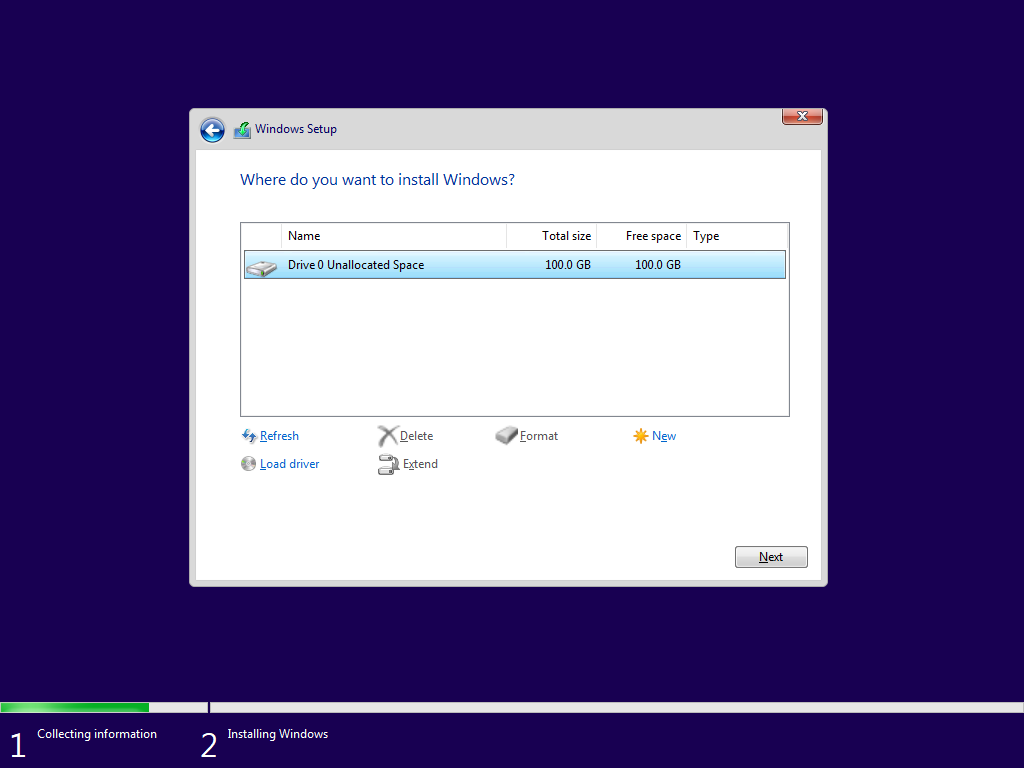
Now Windows, with the virtio storage driver loaded, detects the virtual disk we created.
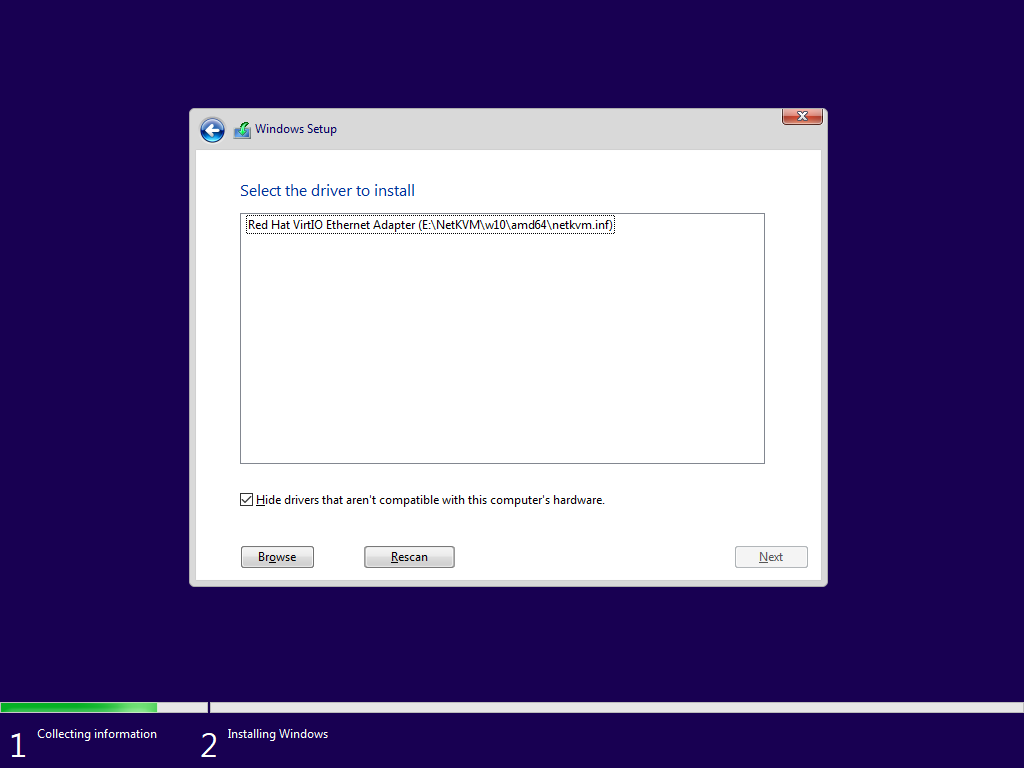
Use the load driver function again to install the network card. It’s better to have a working connection during the installation steps.
Nitpick: loading the virtualized GPU drivers at this stage offers a more pleasant experience during installation.

Now, finally, start the installation and wait for it to complete, after some reboots.
System setup
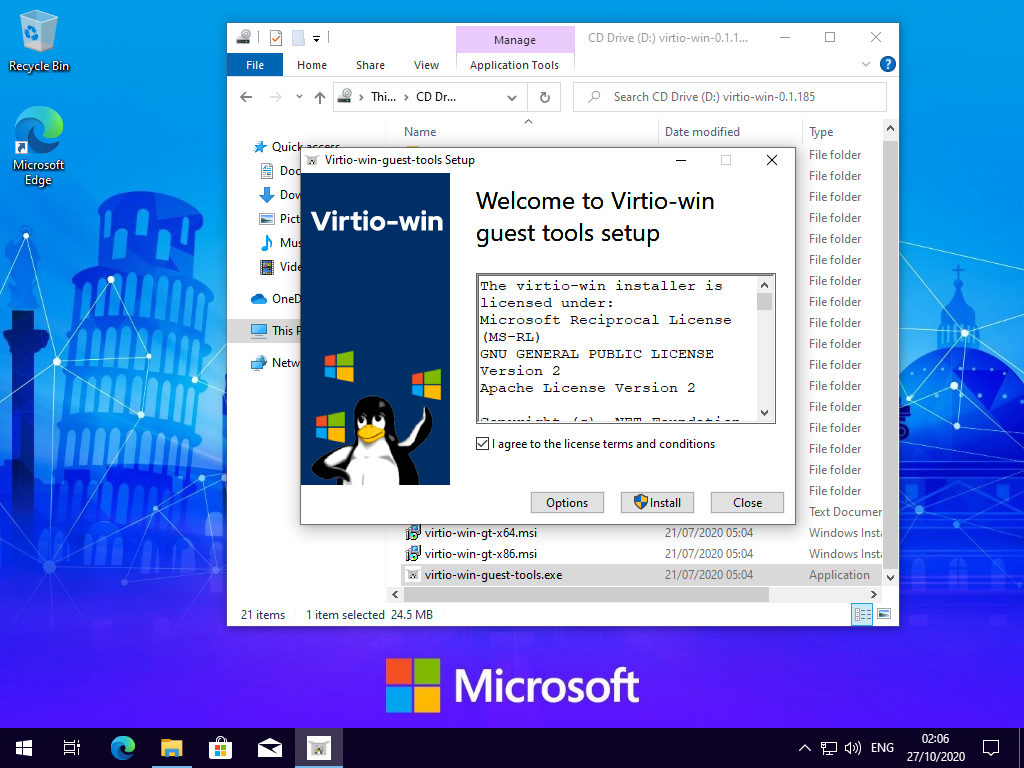
We installed the mandatory drivers during the installation. Now let’s install the optional ones. A convenient installer for all the virtio drivers and the guest agent is at the root of the virtio driver CD. The guest agent allows you to sync the clipboard between the host and guest.
Saving space
At this point Windows is ready to run. Since we use the virtio disk driver, the guest will report the range of free space in the filesystem to the hypervisor. The hypervisor will then pass this information to QEMU, which will punch holes in the disk image and free space on the host. To maximize the savings, we can take some additional steps.
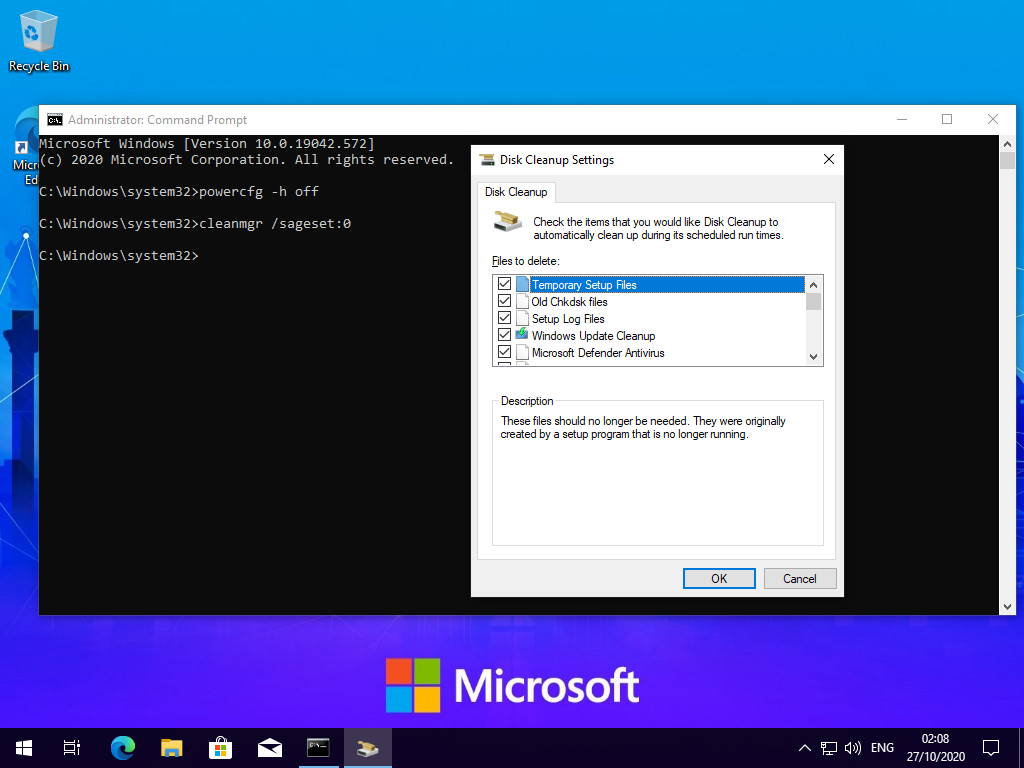
Windows keeps a hiberfil.sys file as big as the system RAM to support hibernation. Hibernation is rarely needed in a VM, since VMs can be paused, so disable it by running powercfg -h off in an administrator command prompt.
More free space can be gained by running the cleanup tool:
Configure it once with cleanmgr /sageset:0 and select all the checkboxes.
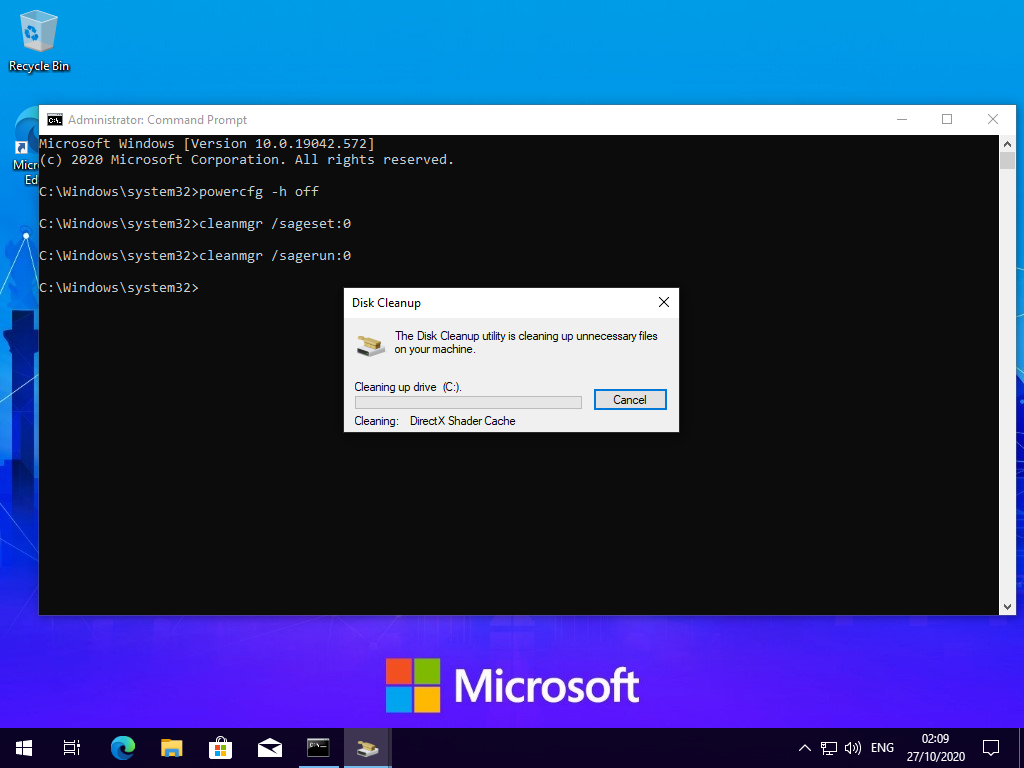
Then run it every time with cleanmgr /sagerun:0.
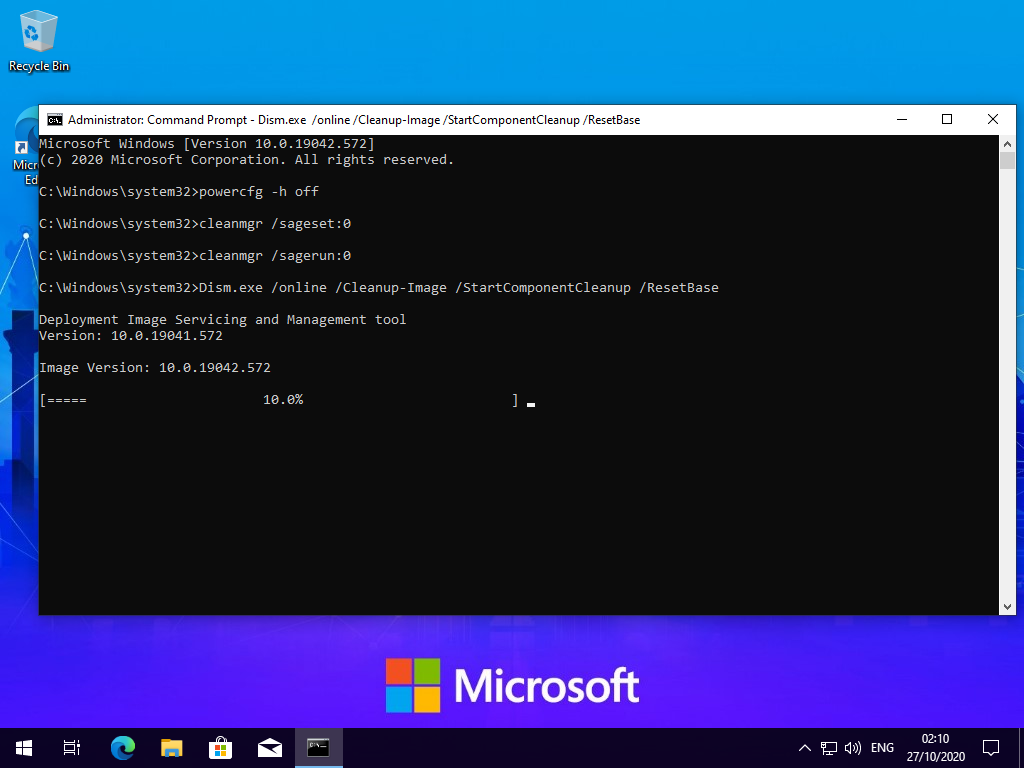
Windows Update stores some backup data to roll back upgrades. Again, we’re unlikely to need this since we have VM snapshots, so this data can be freed by running the following in an administrator command prompt:
dism.exe /online /Cleanup-Image /StartComponentCleanup /ResetBase
After we’re done with all the cleaning, run the Optimize Drive utility from Explorer. Windows will detect the drive as a “thin provisioned drive” and issue discards to the host instead of running regular disk defragmentation.
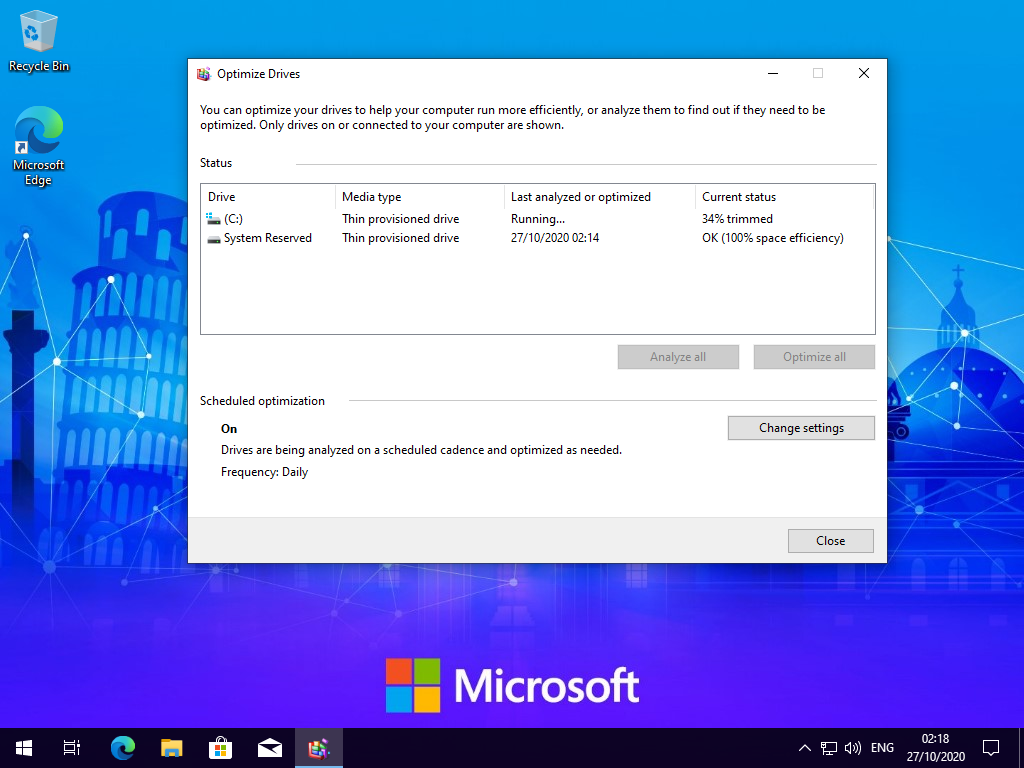
After the trim is done, the disk image on the host should be a sparse file, with the real size much lower than the apparent one:
root@turbo:/var/lib/libvirt/images# ll win10.qcow2
-rw-------. 1 root root 101G ott 27 02:23 win10.qcow2

root@turbo:/var/lib/libvirt/images# du -sh win10.qcow2
13G win10.qcow2